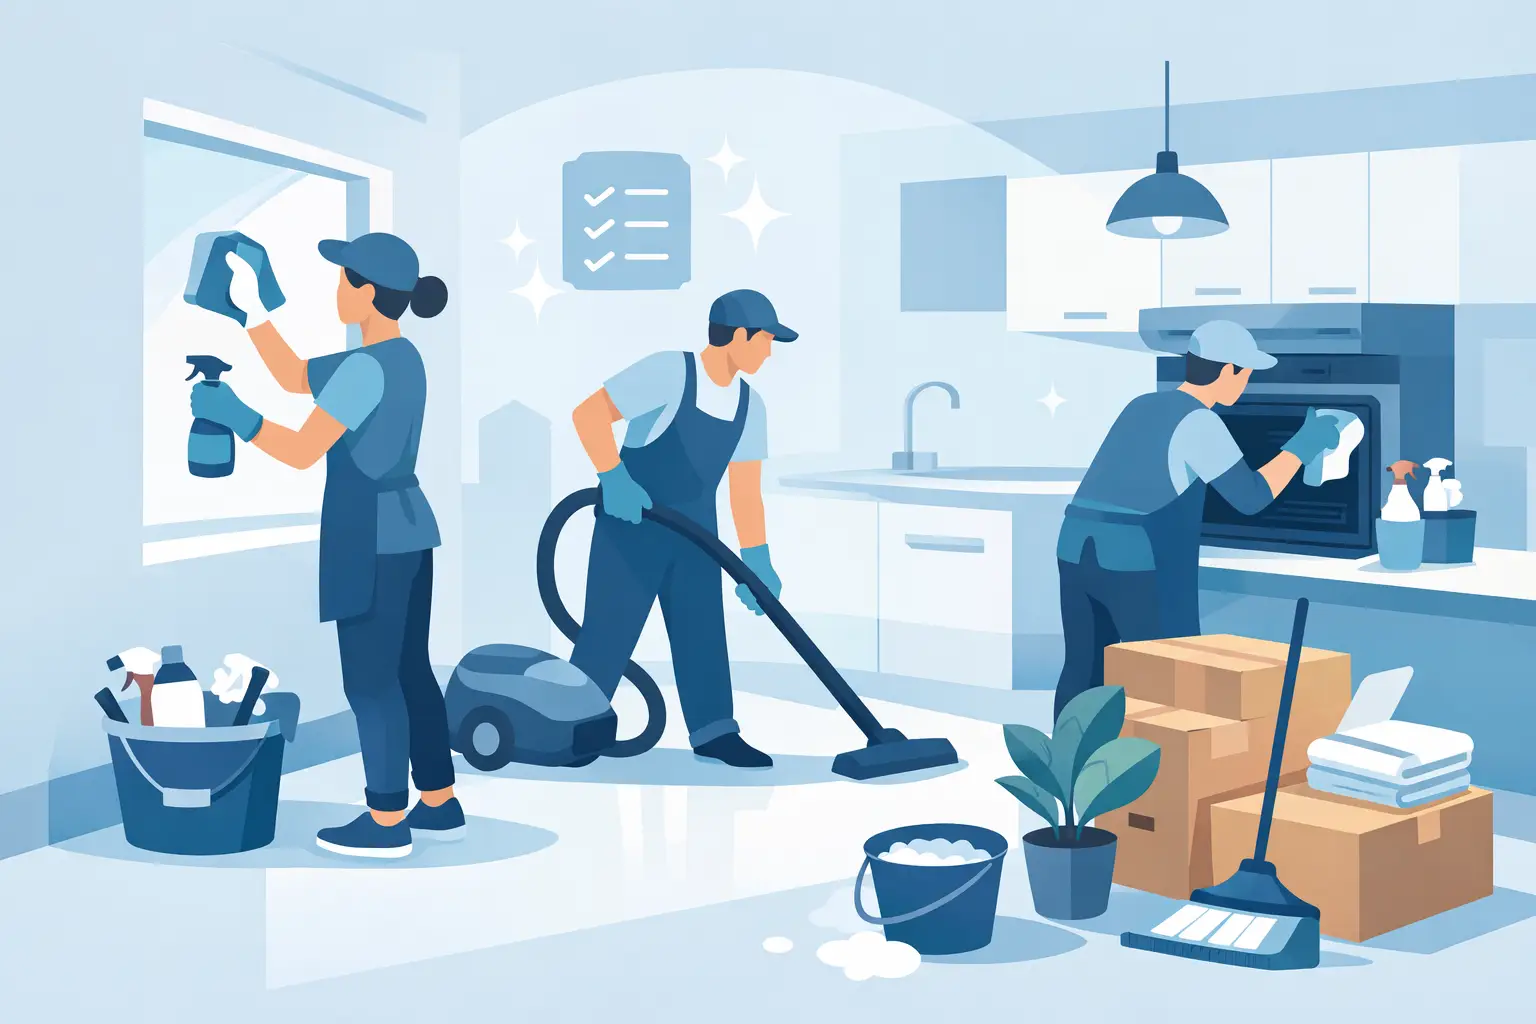
You usually find out how strict an end of tenancy clean needs to be when you open the oven door, pull the sofa forward, or notice the limescale you stopped seeing months ago. If you are working out how to end of tenancy clean without losing your deposit, the job is less about surface tidying and more about returning the property to the standard set out in your tenancy agreement and inventory.
That distinction matters. A quick once-over might make the place look presentable, but check-out inspections are rarely based on first impressions alone. Landlords and letting agents tend to compare condition, cleanliness and maintenance against the original check-in report. If grease, dust, soap scum or staining were not there when you moved in, they are likely to be flagged now.
What an end of tenancy clean actually means
An end of tenancy clean is a deep clean of the whole property, not a standard weekly clean. The aim is to leave the home hygienic, presentable and as close as possible to the condition it was in at the start of the tenancy, allowing for fair wear and tear.
Fair wear and tear is where many tenants get caught out. Flattened carpet in a high-traffic area is one thing. Embedded pet hair, food spills, thick bathroom mould or grease build-up in the kitchen is another. Cleaning can fix dirt, but not damage. That means you need to be realistic about what can be cleaned, what may need repair, and what should be raised before the final inspection.
If the property was professionally cleaned before move-in, some agreements expect it to be cleaned to a similar standard at move-out. You cannot usually be forced to pay for a specific cleaning company, but you can still be charged if the cleaning standard falls short. That is why the method matters.
How to end of tenancy clean room by room
The most reliable approach is to clean from top to bottom and from the back of the property towards the exit. That stops you walking dust and dirt into rooms you have already finished.
Start with the kitchen
The kitchen takes the most time and usually gets the most scrutiny. Cupboards need emptying and wiping inside and out, including the tops of wall units where grease settles quietly. Worktops, splashbacks, sinks and taps should be degreased and descaled. The bin area needs cleaning too, not just a fresh liner.
Appliances are where many deposits are won or lost. The oven, hob, extractor and microwave should be cleaned thoroughly, including trays, racks, glass and control knobs. If the fridge and freezer are included, they need to be emptied, defrosted if necessary, and wiped down inside. Leave the freezer too late and you create a timing problem, so plan that early.
There is a trade-off here. If the oven has heavy burnt-on grease, doing it yourself can take hours and still leave residue. In that case, specialist oven cleaning may be the more practical option, especially if you are balancing packing, key handover and removals.
Move on to the bathroom
Bathrooms need more than a bleach rinse. Limescale around taps, shower heads, tiles and glass is one of the first things an inspector notices. Toilets should be sanitised properly, including behind the base and around hinges. Baths, showers, basins and screens need to be free from soap scum, hair and product residue.
Pay attention to grout, sealant and extractor fans. A little discolouration from age may count as wear, but visible mildew caused by poor ventilation or cleaning is usually treated differently. Mirrors should be polished, and cabinets should be emptied and wiped inside.
Tackle living areas and bedrooms
These rooms are simpler, but they still need detail. Dust all surfaces, skirting boards, light fittings, switches, sockets and door frames. Wipe wardrobes, shelves and drawers inside as well as out. Remove cobwebs from corners and around ceilings.
Carpets should be vacuumed slowly and properly, including edges and under furniture if any remains. Hard floors should be vacuumed first, then mopped. Marks on walls can sometimes be lifted gently, but aggressive scrubbing can remove paint, so test carefully. Windows on the inside should be cleaned if accessible, along with sills and frames.
Do not forget the overlooked areas
End of tenancy cleaning often fails in the details. Behind appliances, under beds, on top of wardrobes, around radiators and along skirting boards are common problem spots. So are fingerprints on light switches, dust on blinds and crumbs in cutlery drawers.
If the property is furnished, clean upholstery where possible and check under cushions. If there is an outdoor area, remove rubbish and sweep it. You are not expected to landscape a garden, but leaving it full of debris is not likely to help.
The tools and products worth using
The job goes faster when you use the right kit. A good vacuum, microfibre cloths, a mop, a descaler, a degreaser, glass cleaner, bathroom cleaner, bin bags, sponges and rubber gloves cover most of the work. A toothbrush or small detailing brush helps with grout lines, hinges and around taps.
More product does not always mean better results. Mixing chemicals is risky, and overusing sprays can leave streaks or sticky residue. In most cases, the better approach is to use the right cleaner for the surface, allow it time to work, then wipe thoroughly.
If you are cleaning painted walls, natural stone, delicate wood or specialist finishes, check compatibility first. One avoidable mistake can cost more than the cleaning itself.
When to clean it yourself and when to book help
If the property is small, well maintained and you have the time, doing it yourself can work. The key phrase there is and you have the time. A proper end of tenancy clean is rarely a two-hour job, especially once packing, utility readings and moving logistics are added in.
Professional help makes more sense when the property is large, the kitchen and bathroom have built-up grime, or the check-out timeline is tight. It can also be the easier route if you are leaving a shared house and want a clear, accountable service rather than negotiating who cleaned what.
For busy renters, landlords and property managers, a structured booking is often the difference between a rushed clean and a check-out ready property. That is one reason platforms such as Letusclean4u appeal to people who need a practical solution rather than a long chain of calls and quotes.
Common mistakes that cost tenants money
The most common mistake is confusing tidy with clean. Emptying a room and taking the rubbish out is only the start. Another frequent issue is leaving cleaning until moving day, when energy and time are already stretched.
People also miss interiors. Agents open cupboards, drawers, fridges and ovens. They look at sealant, taps, skirting and window sills. They notice pet hair and odours. If you have smoked in the property, cooked heavily without ventilation, or had pets, you may need extra deodorising and fabric cleaning to get the place back to an acceptable standard.
Another problem is skipping the inventory. If you still have the original report and photos, use them. They help you focus on what the property looked like at the start rather than what you have got used to over time.
A practical timeline that reduces stress
The clean is easier when you break it into stages. Defrost the freezer and deal with any repairs a few days in advance. Pack first so surfaces, cupboards and floors are actually accessible. Clean one room fully before starting the next, rather than doing half-jobs across the property.
Try to leave floors until last. If possible, carry out the final clean when the property is empty. It is much easier to clean around furniture than under it, and a vacant room shows up dust, marks and missed corners quickly.
Once finished, take clear photos. They are useful if there is any dispute later. If you have booked professional cleaning, keep the confirmation and invoice for your records.
How to check your own work before handover
Walk through the property slowly as if you are the person inspecting it. Open doors. Open cupboards. Switch on lights. Look from low angles where dust on skirting and under radiators becomes obvious. Check the smell as well as the look of the place.
A final check in daylight is worth the effort. Artificial light hides streaks, crumbs and water marks. If something still looks questionable to you, it will probably stand out to an agent too.
Getting an end of tenancy clean right is not about perfection for its own sake. It is about handing back the property in a condition that is easy to approve and hard to dispute. A few extra hours, or the right professional support, can make that final step much simpler.